We run quite a lot of knifemaking courses at Tharwa Valley Forge, so it’s no surprise that we field a lot of questions from students about how to get into knifemaking at home.
As with any creative pursuit, we meet a lot of people who delay getting into knifemaking because they are overwhelmed by options; at the other extreme we see quite a few people who rush out and buy a huge amount of expensive equipment but don’t have any idea how to use it.
 The most important thing when it comes to starting out in knifemaking isn’t your equipment, ability, or knowledge. It’s your attitude. If you understand your budget and approach equipment purchases as an investment rather than an expense you will get into knifemaking in a way that is enjoyable and sustainable.
If you set out on the right foot, knifemaking can be a pursuit that pays for itself. Quite a number of knifemakers started out by using this simple method: figure out your initial budget for tools and material and place that money in a separate bank account or piggy bank / shoebox / mattress. This is your knife making fund - when you purchase equipment and materials the money comes from here, when you sell knives money goes back in here. At first you will be subsidising your knifemaking, and after a short while your knifemaking will probably be paying for itself.
You can get into knifemaking for less than $500 with a basic stock removal setup. Although you might have to send your blades away to be heat treated, you will quickly learn enough to graduate to an intermediate setup without wasting money on the wrong kit.
Starter Kit ($400-700)
Assuming you have no tools, this is what you would need to make simple knives by stock removal.
- Workbench
- 5" Angle Grinder (cutting and shaping blanks)
- 1mm Angle Grinder discs (great for cutting out shapes)
- Good set of Files (shaping bevels)
- Sandpaper 180, 320, and 600 Grit
- Small Drill Press (difficult to make straight holes without one)
- Bench Vice (buy one or make your own)
- Pre Cut Blade Blanks (ideal for your first few knives)
- 3mm 1075 Steel (easy to work with, easy to heat treat)
Rhynowet is our sandpaper of choice. For about the same cost as buying wet and dry at the hardware store, this paper lasts nearly three times longer and does a better job. We have found it saves us an hour per blade compared to other sandpaper.
Once you are comfortable using your Starter Kit and are starting to notice ways it limits you it’s probably time to look at a more intermediate level setup. This is significantly more expensive but your higher skill level will help you make the money back by selling knives that are of a higher quality. In turn, the new equipment will give your skills room to grow so that you can pay for the jump to the next level when you outgrow this setup.
Intermediate Kit ($2,500-$4,000)

This setup speeds up the process of knifemaking as well as providing the opportunity to learn more advanced techniques.
- Starter Kit, plus:
- Variable Speed Belt Grinder ($1600 - $3200)
- Disc Sander ($1000)
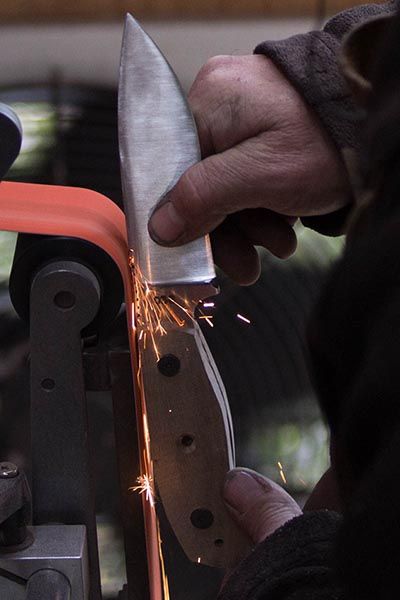
At this point you should consider investing in the best belt grinder you can afford. A good grinder can cover bad forging, but a bad grinder will give you a poor finish no matter how good your forging is. Shopmate 48 are a versatile option for most knifemakers, and well worth the investment when you consider that every knife you make will touch the grinder at some point.
When you are first starting out, hand sanding is a good way to learn how metal behaves. But after a certain point your time is better spent doing other things. A 9" reversible variable speed disc sander can save hours on the hand finishing of the knife and is the best way to get things flat. When considering your expenses, remember that sandpaper will only last one or two blades before being downgraded for use on handles. For best results, use spray glue to attach a thin layer of rubber or cereal box cardboard to the disc, then use spray glue to attach the sandpaper to the rubber or cardboard.
If you are considering buying this type of equipment, you should consider adding a variable speed controller to maximise the types of materials you can work with. Although you can purchase grinders and sanders with integral speed controllers, the more cost-effective option is to use a Variable Frequency Drive (VFD) speed controller. If you purchase a grinder and sander with Three Phase motors you can share a VFD speed controller with both units (saving you about $600). Furthermore, variable speed controllers maximise belt life so you’ll save a lot of money on belts. Over the life of the grinder, you will likely spend three times as much on belts as you did purchasing the grinder.
After a while you may start to feel the urge to branch out into something new. For many knifemakers this is the point where they decide to get into forging.

Forging Kit ($2,500-$3,000)
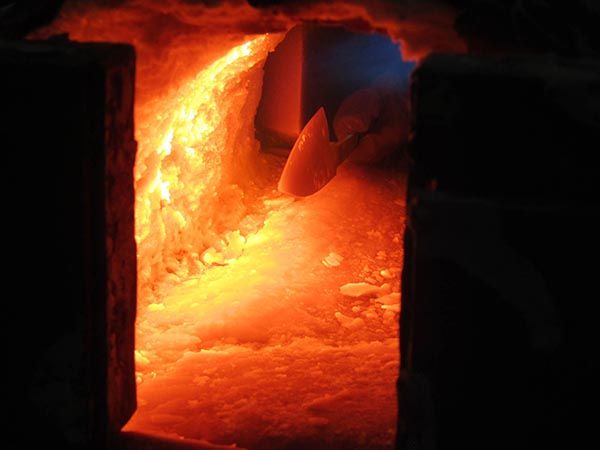
A forging setup will not only allow you to move hot metal, it will allow you to perform other operations such as heat treating and welding.
- Starter Kit, plus
- (optional) Intermediate Kit, plus
- Forge ($600)
- Anvil ($460+)
- Flypress ($300 - $800)
- Tongs ($200 for 5 pairs)
- Hammers ($200)
Forging isn’t necessary to make a knife, nor will it produce a better blade (at least at the novice to intermediate skill level). Whether your goal is to devote many years to mastering the art of forging blades or you just want to hit hot steel, forging is great fun. In addition to learning about metallurgy, you’ll get a decent workout: many people are surprised to discover how physically demanding forging is.
Forging is also a great way to save money on tools, because it provides you with the capacity to manufacture your own tongs, hammers, and other knifemaking tools. If this sounds appealing, it may be worth considering our five-day Blacksmithing Foundations Course where you will build your skills as well as your tools. At the end of the course you will walk away with a set of basic tools and a gas forge as well as the skills to use them.
Beyond this point you will probably have enough knowledge and experience to figure out your next moves. The setups outlined above provide a strong base to build on and upgrade as your knife making skill sets expand. You may take an interest in sheath making, or scrimshawing, or Damascus steel making. You might even decide to pursue knifemaking as a commercial endeavour, for example as a custom bladesmith, production knife maker, or teacher. Equipment becomes a more expensive investment, but the potential returns are commensurate.
- Steel Bandsaw ($1,200)
- Wood Bandsaw ($600)
- Heat Treatment Oven ($2,500)
- 25t Hydraulic Forging Press ($7,000)
- 25kg Power Hammer ($10,000)
- Steel Rolling mill ($2,000)
- Rockwell Hardness Tester ($2,000)
- Tippmann Boss Leather Stitcher ($2,600)
Your interests will direct you towards resources and communities that will inform your future investments in knifemaking, and the blades you make will help fund your pursuits as you continue to learn and grow. By starting out with the right attitude, you will be setting yourself up to pursue knifemaking in a way that pays for itself.